| Tags | walk-in bath bath easy riser montana priya tray sizes anti-slip shower tray sizes shower tray freestanding baths geberit aquaclean aquaclean carron corner bath carron baths show all posts |
How To Install a Walk-in Bath: Step by Step Guide & Helpful Tips
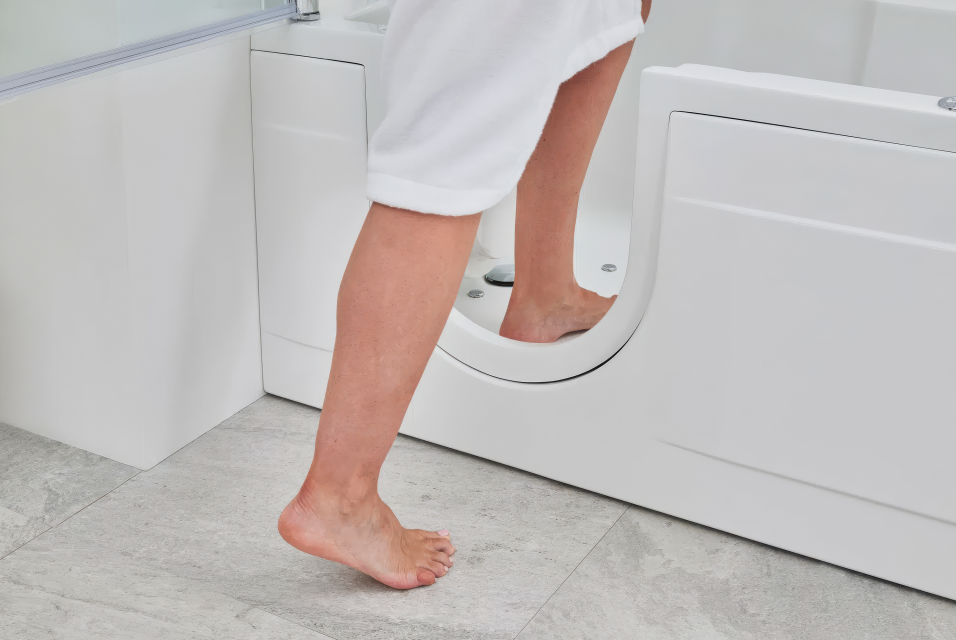
If you are looking to increase accessibility in your bathroom, a walk-in bath can be a great solution. Walk-in bathtubs, also referred to as no-step baths or roll-in bathtubs, permit the user to step into the bath rather than climbing over the high sidewalls of a traditional bathtub. Individuals who may benefit from a walk-in bathtub include the elderly, those recovering from an injury or medical issue that impacts mobility, and people with mobility challenges stemming from conditions like arthritis.
Walk-in baths typically have a low threshold ranging from 50mm to 170mm, allowing users to easily walk right into the bath. This design enables even individuals who use assistive devices like walkers or canes to easily access and utilise the tub independently. Installing a walk-in bath usually necessitates some modifications to existing plumbing as well as re-tiling or re-flooring surrounding areas. Professionals commonly estimate a full-day installation to properly position the bath and to connect new faucets and plumbing fixtures.
Here are the main steps to install a walk-in bath in your home:
Select the appropriate walk-in bath for your space.
There are a wide range of walk-in bath options available on today's market, offering consumers numerous choices in terms of size, shape, features, and price point. Determining the walk-in bath that will work best for you involves careful consideration of several factors, such as any special features or amenities you desire in your walk-in bath. Options like multiple jet sprays, air jets, aromatherapy sprays, heated seats and backrests, wireless connectivity, waterproof radios, and more are available on many models at extra cost. Choosing a tub with features that align with your interests and needs can enhance bathing comfort and convenience.
Remove your existing bath.
Shut off the water supply and drain your current bath. Use a utility knife to remove any sealant or grout around the edges of the bath. Break up your existing bath into removable pieces using a sledgehammer, then dispose of all pieces.
Clear away any remaining debris.
This is important because it will allow for a fresh start when installing your new bath. Once the old bathtub is removed, you can ensure the subfloor and walls are in good condition, and will make the installation of your new bath go smoothly and help ensure a proper final fit.
Prepare the installation site.
Thoroughly examine the flooring and walls of your bathroom in the vicinity of where you intend to install the walk-in bath. Closely inspect the floor for any indication of damage caused by water leaks, cracks, or deterioration that would compromise its structural integrity. Also inspect the walls and ceiling for any water stains, peeling paint, mould growth, or other signs of moisture damage which could signal potential issues. If you find any areas that show signs of water damage or deterioration, take the necessary steps to repair the problems before proceeding with installing the bath.
Connect the plumbing.
In order to properly equip your walk-in tub with the necessary supply of water and drainage capabilities, you will want to hire a licensed and insured plumbing professional to handle the plumbing installation process. The plumber will come to your home and run both hot and cold water supply lines from your house's water source to the appropriate locations to provide fresh water access to the walk-in tub. They will also run a drain pipe from the tub's designated drain opening out to connect with your home's existing drain line or sewer system.
Install the walk-in bath.
Once any necessary plumbing has been completed and tested, you will be ready to physically position the walk-in bath itself within your bathroom. Gently but firmly manoeuvre the bath into the space where you wish for it to be located. Adjust its position until you have achieved the ideal layout, ensuring there is enough room for access and comfort. Minor tweaking of the positions of the supply lines and drain hookups may be needed at this stage to perfectly align them with the appropriate connection points on the bath itself.
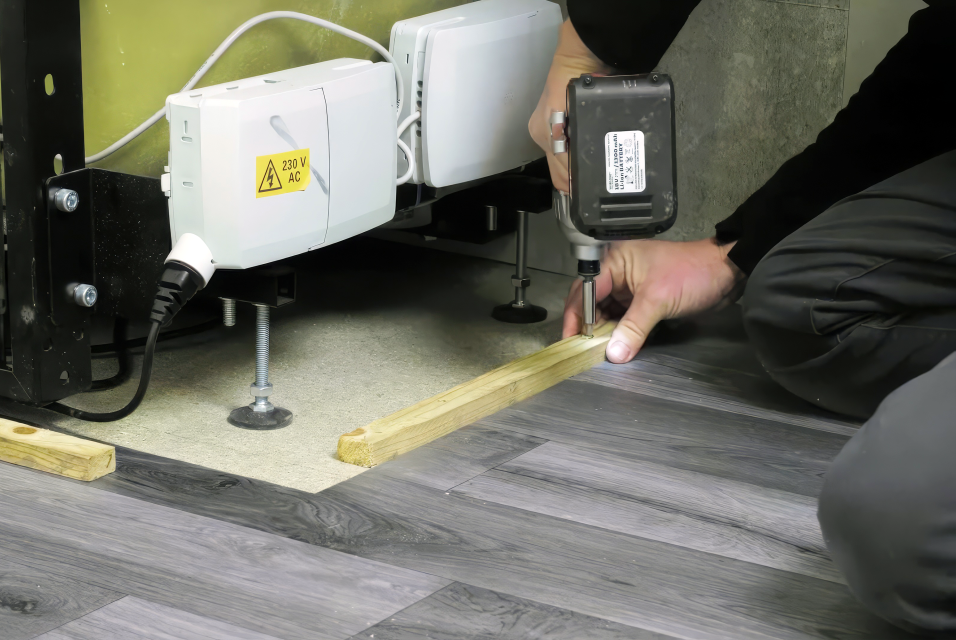
Once you are satisfied with the placement of the tub, secure it in place to the floor using the provided mounting brackets, bolts, or anchors. These fixtures will hold the bath stable and prevent movement. To create a watertight seal around the bath, apply a good amount of high-quality silicone along the edges where the bath meets the floor and walls. Focus the sealing, especially on any joints or seams. Smooth the sealant to achieve an even, uniform seal. Then, allow the sealant adequate time to fully cure and dry as directed by the product instructions.
This could take anywhere from a few hours to a full day. Only once the sealant has fully dried should you fill the bath with water for the first time to test that there are no leaks around the edges. Properly positioning and securing the bath as well as sealing all edges with sealant will help ensure a long-lasting, dependable installation.
Complete final details.
Once the walk-in bath is firmly secured in place and all sealant around the edges has properly cured, you can proceed with installing any remaining finishing pieces. Check that all components like the supply and drain lines, tap handles, diverter valves, and control panels are fully functional. Then install any included trim kits, handles, or edge mouldings to cover gaps and give the bath a finished look.
When installation is complete, fill the bath partway with water to fully test for leaks before first use. Check all pipe connections, seals, and sealed areas as the bath fills to identify any spots that require resealing. Continue filling and rechecking as needed until you are confident there are no dripping or running leaks. Only then is the bath fully ready for use.
After leak testing, demonstrate to the homeowner how to safely operate all bath features and controls. This includes the taps, diverter valve if present, massage units or jets, therapy seats, arm rests, anti-slip flooring, and any assist bars or grab bars. Explain the recommended water temperature range and how to utilise the various modes. Then, provide the homeowner with written information on proper cleaning and maintenance to maximise the tub's lifespan. This includes how to clean touchpoints, sanitise the tub, lubricate moving parts, and address minor issues as they arise.
Taking the time for a thorough, step-by-step installation process will result in a walk-in bath that performs reliably and safely for years. Have a plumber address any portions of the installation you are unsure to avoid costly mistakes or safety hazards. With care and attention to detail, you can provide the homeowner with a valuable accessibility upgrade that enhances their comfort and independence.
Bathroom Supplies Online offers several invaluable tips of the trade to ensure a successful walk-in bathtub installation:
Ensure the bath is perfectly level:
This is a crucial step in the installation process. If the bath is not perfectly level, the door may twist and cause leaks. Use a spirit level to check the alignment of the bath. If it's not level, adjust the legs or add shims until it is. This will ensure the door fits snugly and operates smoothly, preventing any potential water leakage.
Inspect the bath and seals before installation:
Before you begin the installation process, thoroughly inspect the bath and its seals. Look for any signs of damage or wear that could compromise the integrity of the bath. This includes checking the rubber seals around the door and drain for any cracks or tears. Catching these issues early can save you time and prevent potential leaks in the future.
Use a thermostatic tap:
A thermostatic tap is a safety feature that prevents scalding by maintaining a consistent water temperature, even if there are fluctuations in the hot or cold water supply. This is particularly important in a walk-in bath, where the user may be seated and have difficulty adjusting the water temperature quickly.
Secure all legs correctly:
The legs of the bath need to be securely fastened to ensure stability. A wobbly bath can be a safety hazard and may also lead to uneven wear and potential leaks. Use the appropriate tools to tighten the legs and check their stability before proceeding with the installation.
Use high-quality sealant:
A high-quality, waterproof sealant is essential for preventing leaks around the edges of the bath, particularly where it meets the wall and floor. Apply the sealant evenly and allow it to dry completely before using the bath. It's also a good idea to check the sealant periodically and reapply it as necessary to maintain a watertight seal.
Additional tips to consider:
Choose a high quality bathtub from a reputable source:
Selecting the perfect bathtub tailored to your individual needs is crucial. To aid in this process, consider exploring the extensive array of options available on a comprehensive website such as our trusted site, Bathroomsuppliesonline.com. We are an excellent resource, offering a wide variety of bathtubs to peruse at your leisure. Our dedicated customer service team is always on hand to assist should you encounter any difficulties in your selection process. We pride ourselves on being a one-stop destination for all your bathroom needs and more. We invite you to browse our diverse collection of walk-in bath and encourage you to reach out to us for any assistance you may require.
Consider professional installation:
If you're not confident in your DIY skills, consider hiring a professional to install your walk-in bath. They have the experience and knowledge to handle any unexpected issues that may arise during the installation process.
Plan for future needs:
When choosing a walk-in bath, consider not just your current needs, but also potential future needs. For example, you might want to choose a model with a wider door if you anticipate needing a wheelchair in the future.
Maintain your walk-in bath:
Regular maintenance can extend the life of your walk-in bath. This includes cleaning the bath regularly to prevent the buildup of soap scum and hard water stains, checking the seals and fixtures for wear, and promptly repairing any issues.
Ensure adequate lighting:
Good lighting is essential for safety in a walk-in bath. Consider installing additional lighting if necessary, and use light bulbs that provide a natural, warm light.
Install grab bars:
Grab bars can provide additional support and stability when entering and exiting the bath. They should be installed at a comfortable height and in a location where they are easy to reach.
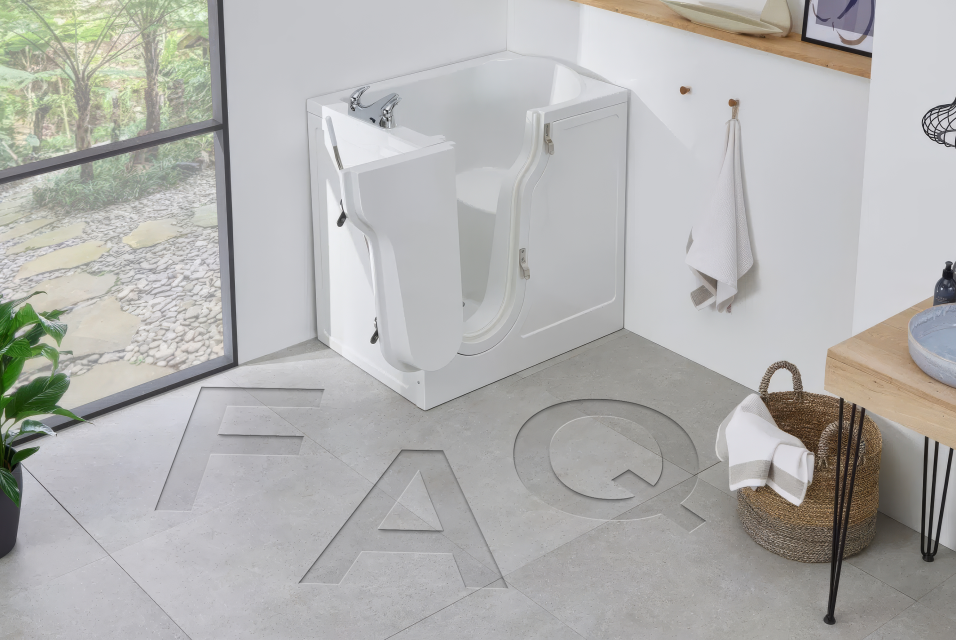
Frequently Asked Questions (FAQ)
1. What are the benefits of installing a walk-in bath?
- Walk-in baths offer increased safety and accessibility, especially for seniors or those with mobility issues. They reduce the risk of falls, provide easier entry and exit, and often include features like built-in seating and handrails. Many models also offer therapeutic benefits like hydrotherapy jets.
2. How much does it cost to install a walk-in bath?
- The cost varies widely depending on the model, features, and installation requirements. On average, you can expect to pay between £2,000 to £10,000 for a walk-in bath, including installation. High-end models with luxury features can cost more.
3. Do walk-in bath doors leak?
- Our quality walk-in baths are engineered with robust, watertight seals to prevent leaks. When properly installed and maintained, these doors are highly reliable. At Bathroom Supplies Online, we've been selling walk-in baths daily for many years and we haven't received any reports of leaking doors except in rare cases of incorrect installation. Our experience shows that with proper care and installation, door leaks are not a concern for walk-in bath owners. We always recommend professional fitting to ensure the best performance and longevity of your walk-in bath.
4. How long does it take to install a walk-in bath?
- Installation typically takes 1-3 days, depending on the complexity of the job and whether any significant bathroom modifications are needed. Simple replacements might be done in a day, while more complex installations could take longer.
5. What should I consider when choosing a walk-in bath?
- Consider factors such as available space, mobility needs, desired features (like jets or heated seating), warranty, and budget. Also consider the door style (inward or outward swinging), step-in height, and fill/drain times.
6. What are the common features of a walk-in bath?
- Common features include low-threshold entry, non-slip flooring, built-in seating, handrails, quick-drain systems, and watertight doors. Many also offer therapeutic options like air or water jets, chromotherapy lighting, and heated surfaces.
7. Do walk-in baths have safety features?
- Yes, safety is a primary focus of walk-in baths. They typically include features like non-slip surfaces, grab bars, low step-in heights, and sturdy seating. Some models also have anti-scald valves and emergency drain systems.
8. How do I maintain and clean my walk-in bath?
- Regular cleaning with mild, non-abrasive cleaners is usually sufficient. Pay special attention to the door seal, keeping it clean and free from soap scum. For tubs with jets, run a cleaning cycle regularly according to the manufacturer's instructions.
9. What are the plumbing requirements for a walk-in bath installation?
- Walk-in baths generally require similar plumbing to standard tubs, but may need modifications due to their size or special features. You might need to upgrade your water heater capacity for larger tubs. A professional assessment is recommended to ensure your plumbing can support the new bath.
10. Can I get a VAT exemption on a walk-in bath?
- Yes, you may be eligible for VAT exemption when purchasing a walk-in bath from Bathroom Supplies Online. The prices we advertise for walk-in baths are shown excluding VAT. If you're buying the bath for yourself or a family member with a chronic illness or disability, you likely qualify for the 0% VAT rate.
To check your eligibility, you can visit this page for more information or call our helpful sales team on 01482 795165. After purchase, you'll need to complete our self-assessed VAT exemption form, which is available on our website. It's a simple online form that can be submitted instantly.
However, if you're a business, plumber, or installer buying the bath, VAT will need to be added to the advertised price. We also offer a free walk-in bath brochure to help you choose the right model. You can request this through our online form, and we'll post it to you at no charge.


