| Tags | walk-in bath bath easy riser montana priya tray sizes anti-slip shower tray sizes shower tray freestanding baths geberit aquaclean aquaclean carron corner bath carron baths show all posts |
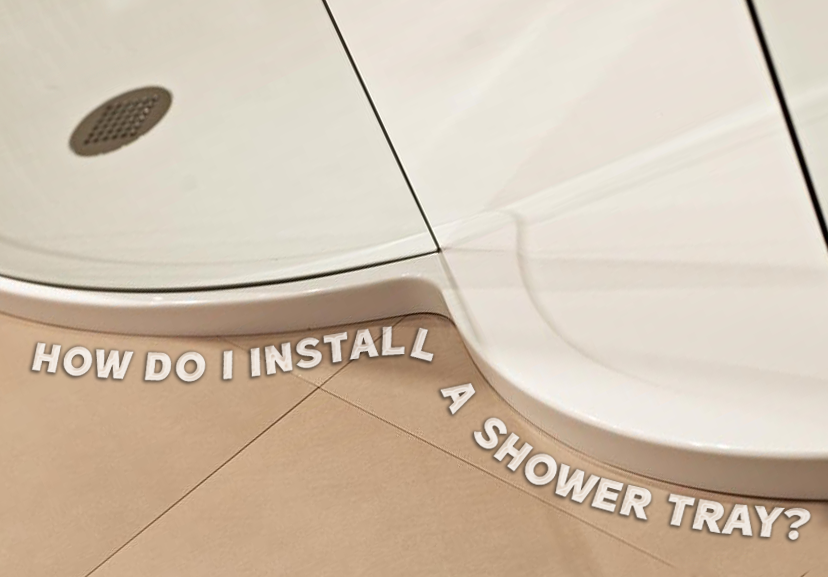
How Do I Install a Shower Tray?
Installing a Shower Tray: A Comprehensive Q&A Guide Featuring Bette, Kaldewei, and Ideal Standard Shower Trays
Embarking on a bathroom renovation or designing a new one can be an exciting yet daunting task. With countless design elements to consider, it's crucial to strike the perfect balance between style and practicality. One of the most important aspects of any bathroom is the shower area, which not only serves as a functional space but also contributes significantly to the overall aesthetic appeal. Among the numerous components that make up a shower, the shower tray plays a vital role in ensuring a comfortable and efficient showering experience. With industry-leading brands such as Bette, Kaldewei, and Ideal Standard offering a wide range of high-quality shower trays, making the right choice can be overwhelming.
In this blog post, we'll delve deeper into the world of shower trays, addressing common queries and providing valuable insights to help you make an informed decision when selecting the perfect shower tray for your bathroom.
What should I consider when selecting a shower tray?
Several factors to consider when choosing a shower tray include:
Size and shape: Shower trays come in various sizes and shapes (square, rectangular, quadrant, etc.) to fit different bathroom layouts. Measure your available space and select a tray size that fits comfortably.
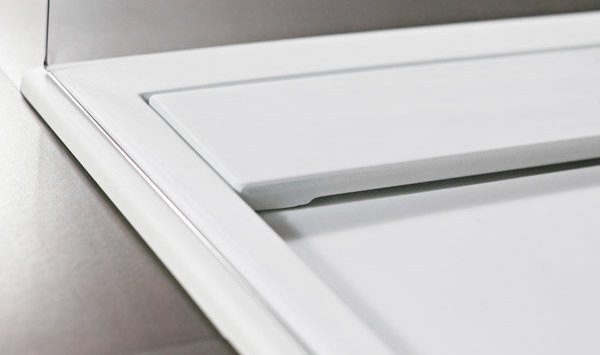
Material: Bette, Kaldewei, and Ideal Standard offer shower trays made from high-quality materials such as steel enamel, acrylic, and ceramic. Each material has its pros and cons, so consider factors like durability, weight, and ease of maintenance.
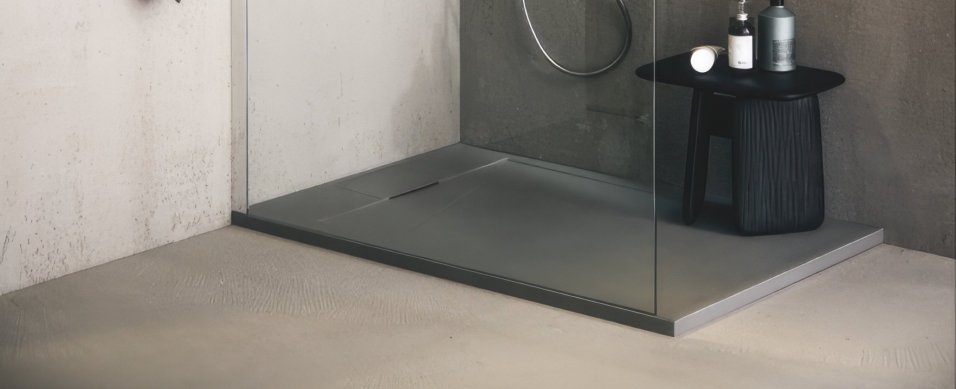
Style: Some trays sit flush with the floor, while others have a raised profile. Low-profile trays create a minimalist look, while raised trays offer easier access for those with mobility issues.
Price: Shower trays can range from affordable to luxury, so consider your budget and the overall value of your chosen tray.
What are the key characteristics of Bette, Kaldewei, and Ideal Standard shower trays?
Here's a quick overview of each brand's offerings:
Bette Shower Trays: Bette specialises in steel enamel shower trays, known for their durability, scratch resistance, and easy maintenance. Bette shower trays are available in a variety of sizes, shapes, and colours.
Kaldewei Shower Trays: Like Bette, Kaldewei also focuses on steel enamel shower trays, offering a wide range of shapes, sizes, and designs. Kaldewei's trays feature a slip-resistant surface and come with a 30-year guarantee.
Ideal Standard Shower Trays: Ideal Standard offers both acrylic and ceramic shower trays, providing options for different budgets and design preferences. The brand's trays are known for their sleek design, durability, and easy installation.
Do I need a professional to install my shower tray, or can I do it myself?
While installing a shower tray may seem straightforward, it's essential to ensure proper installation to prevent leaks and other issues. If you have experience with plumbing and home improvement projects, you might be able to install the shower tray yourself. However, hiring a professional is recommended, especially if you're unfamiliar with the process or lack the necessary tools.
What tools and materials will I need to do this?
Here's a list of some essential tools and materials for installing a shower tray:
- Tape Measure
- Spirit level
- Pencil
- Saw (if cutting the tray)
- Drill and bits
- Adjustable wrench
- Silicone sealant and gun
- Screws and wall plugs
- Waste pipe and trap
What are the basic steps to install a shower tray?
While specific installation instructions may vary depending on the brand and model, here are some general steps:
Preparation: Measure and mark the shower tray's position, ensuring its level and fits the available space. Also, plan the waste pipe route. Make sure the floor is 100% secure and free from dust or obstructions.
Tray installation: Place the shower tray in the desired location and connect the waste pipe. Make sure the tray is level and secure it to the floor using an adhesive or screws, depending on the manufacturer's instructions.
Sealing: Apply silicone sealant around the edges of the shower tray, creating a watertight seal between the tray and the surrounding surfaces. This is the first barrier. This sealant is to be used before the tiling.
Leave for 24 hours, then double check the sealant is sound, and no areas have been missed. You can now commence tiling.
Finishing touches: Install the shower enclosure or door, connect the shower head and controls, seal the shower tray and up any corners with a very high grade of bathroom sealant.
How do I maintain and clean my shower tray?
To keep your shower tray in top condition and ensure its longevity, it's essential to establish a regular cleaning and maintenance routine. By following these simple steps, you can preserve the appearance and functionality of your shower tray for years to come.
Regular cleaning: Aim to clean your shower tray at least once a week, or more frequently if it sees heavy use. This will help prevent the build-up of soap scum, limescale, and grime, which can cause staining and damage over time.
Use gentle cleaning products: Opt for a mild detergent or a non-abrasive bathroom cleaner to clean the surface of your shower tray. Avoid using harsh chemicals, bleach, or abrasive cleaners, as these can damage the material and cause scratches or discolouration.
Soft cleaning tools: When cleaning your shower tray, use a soft cloth, sponge, or non-abrasive brush to gently scrub the surface. Steer clear of steel wool, scouring pads, or other abrasive tools that could scratch or damage the tray's finish.
Rinse thoroughly: After cleaning, be sure to rinse the shower tray thoroughly with clean water to remove any residual soap or cleaning product. This will help prevent the build-up of residue and keep your shower tray looking its best.
Dry the surface: To prevent water spots and mineral deposits, use a squeegee or soft towel to dry the surface of your shower tray after each use. This simple step can make a significant difference in maintaining the tray's appearance.
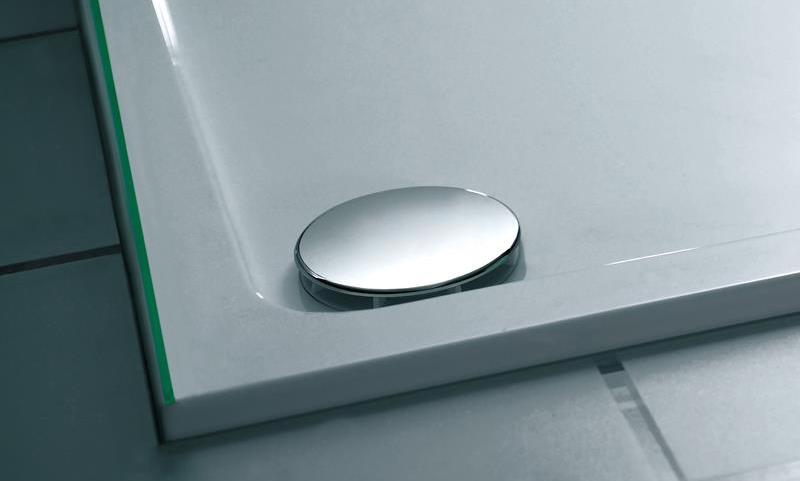
Waste trap maintenance: Regularly check and clean the waste trap to ensure it remains free of debris, such as hair and soap residue. A clear waste trap will help prevent blockages and ensure efficient water drainage.
Sealant inspection: Periodically inspect the sealant around your shower tray for signs of wear, damage, or mould. If necessary, remove and replace the sealant to maintain a watertight seal and prevent water damage.
By incorporating these maintenance and cleaning tips into your routine, you can keep your shower tray looking pristine and functioning optimally for years to come. A well-maintained shower tray not only enhances the overall aesthetic of your bathroom, but also contributes to a more enjoyable and efficient showering experience.
Installing a shower tray requires careful planning and attention to detail. Brands like Bette, Kaldewei, and Ideal Standard offer a variety of high-quality options to suit your needs. Whether you choose to DIY or hire a professional, following proper installation steps will ensure a long-lasting, leak-free shower experience.
Bathroom Supplies Online tricks of the trade
- Make sure all the floor boards are screwed and not nailed.
- Scrape the floor boards of any plaster or raised areas.
- Mop the floor and leave to dry. This will give you a dust free area for the adhesive.
- Spend some time and maybe tank the corners with waterproof tanking tape and paint the walls with tanking paint.
- Seal the shower tray with a high quality sealant before tiling.
- Use the correct adhesive for installing the tray.
- Seal the shower tray after tiling but when the grout is dried, otherwise the sealant will not adhere to the grout.
- Do not install the cubicle until the sealant is cured.


 5 Star Rated 2129 reviews


