No items
in basket
| Tags | walk-in bath bath easy riser montana priya tray sizes anti-slip shower tray sizes shower tray freestanding baths geberit aquaclean aquaclean carron corner bath carron baths show all posts |
Published: 16/09/2024
How Do I Choose the Right Size Shower Tray?

Have you ever stepped into a shower only to find yourself cramped in a corner, or worse, dealing with a flooded bathroom floor? Choosing the right size shower tray isn't just about fitting it into the designated space; it’s crucial for ensuring a safe, comfortable, and functional bathroom layout. In this blog, we'll explore how to select the perfect shower tray size that matches your needs and bathroom dimensions, helping you avoid common pitfalls that arise from a mismatch.
We’ll start by understanding the basics of what a shower tray is and why it’s so important. From there, we’ll look at the various types of shower trays available, each with its own set of advantages. Lastly, we’ll guide you through the standard sizes on offer, explaining how these can vary and what you should consider to make an informed decision. Imagine installing a tray that’s too small, leading to water escape every time you shower, or too big that it makes bathroom navigation a chore. Avoid such scenarios by arming yourself with the right knowledge from the start.
Understanding Shower Tray Basics
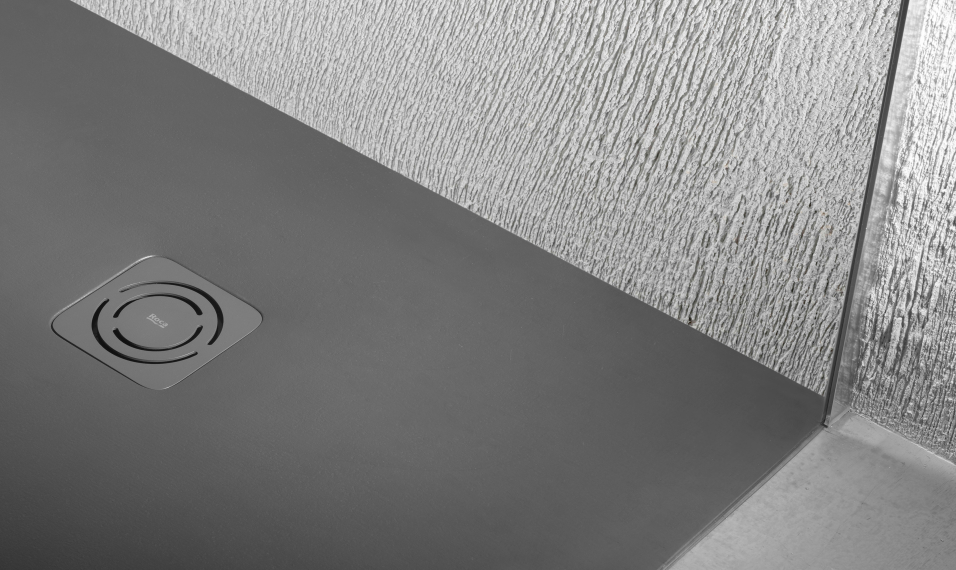
A shower tray is the foundation of a shower enclosure, serving as the bottom part that collects and directs water into the drain. Unlike floor tiles, a shower tray is designed to be watertight, ensuring that the water doesn’t seep into the building structure. It’s a crucial component that impacts not just the functionality of your shower but also its safety and durability.
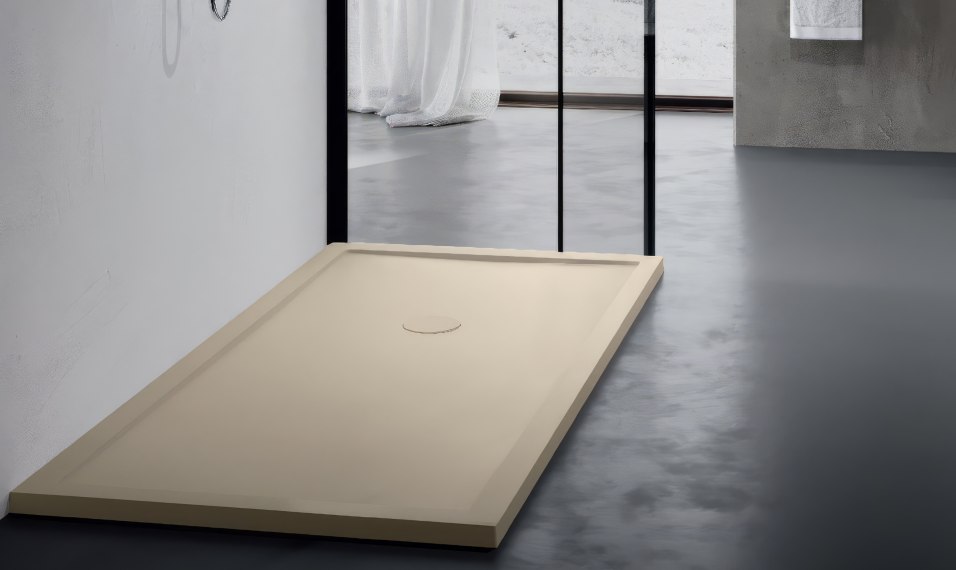
Shower trays are available in a variety of styles, catering to various bathroom layouts and personal preferences. Low-profile trays, with their sleek, modern look and ease of stepping in and out, are a popular choice for minimalist bathrooms and those seeking a more subtle appearance. On the other hand, raised shower trays, mounted on a platform, offer an advantage for those who prefer a more pronounced look or require easier access, particularly in bathrooms with disabilities.
Each type of tray also comes with specific benefits. Low-profile trays are often easier to integrate into existing bathroom designs due to their unobtrusive nature, while raised trays provide easier access for plumbing adjustments and repairs without the need to disrupt the entire bathroom floor.
Standard Shower Tray Sizes
When selecting a shower tray, starting with the standard sizes available can help simplify your decision. Typically, shower trays are measured by their width and depth, with common dimensions ranging from 760mm x 760mm to 1700mm x 700mm. However, these dimensions can vary depending on the style of the tray and the manufacturer’s specifications. The largest trays on the market range from 700 x 700mm all the way to 2000 x 1000mm; however, even larger sizes are possible with bespoke, custom-made trays.
For example, a square shower tray might come in standard sizes like 900mm x 900mm, which fits well in most average-sized bathrooms. Rectangular trays often offer more room and comfort, with popular dimensions such as 1200mm x 800mm. It’s also worth noting that some manufacturers offer bespoke sizes, tailored to fit unique spaces or larger bathroom layouts.
Choosing the right size involves considering both the space available in your bathroom and your personal needs. For instance, larger trays might be more comfortable but could overwhelm a small bathroom, while smaller trays could make a large bathroom feel empty or less functional. It’s a balance between space, comfort, and aesthetics, ensuring that the shower tray complements both the look and practicality of your bathroom.

Differences Between Types of Shower Trays
Shower trays come in a variety of shapes, each offering unique benefits and catering to different bathroom layouts and personal preferences. Understanding the differences between square, rectangular, quadrant, offset quadrant, and pentagonal trays can help you make the best choice for your space and lifestyle.
Square Shower Trays: These trays are ideal for compact bathrooms. Typically ranging in size from 760mm x 760mm to 1200mm x 1200mm, square trays provide a practical solution without compromising on comfort. Their equal-sided design makes them versatile, fitting into most corner installations and complementing a variety of shower doors and enclosures.
Rectangular Shower Trays: Offering more length than square trays, rectangular options are excellent for those who prefer more room to move around. These trays can make a small bathroom appear larger thanks to their elongated shape, which draws the eye along their length. Common sizes range from 1200mm x 760mm to 2000mm x 1000mm, making them suitable for medium to large bathrooms. Because of their spacious nature, they are particularly popular for walk-in showers.
Quadrant Shower Trays: Designed to fit into the corner of a bathroom, quadrant trays are a space-saving solution that provides a curved front, offering a stylish and contemporary look. The curve allows for easier movement within the shower, maximising the use of available space. Standard sizes like 800mm x 800mm and 1000mm x 1000mm are common, making them ideal for small to medium-sized bathrooms.
Offset Quadrant Shower Trays: These are similar to quadrant trays but have one side longer than the other, making them more suitable for rectangular bathroom layouts. They offer the same space efficiency and sleek design as quadrant trays but provide more showering area, which can be a crucial advantage in more elongated bathrooms. Offset quadrants are perfect for those who like the look and feel of quadrant trays but need a bit more space.
Pentagonal Shower Trays: These five-sided trays are designed to maximise space efficiency while offering a unique aesthetic. The angled sides allow the tray to fit snugly into corners, providing a more spacious showering experience without taking up as much floor space as a rectangular or square tray might. This makes them an excellent choice for small bathrooms where space is at a premium.
Factors to Consider Before Choosing a Shower Tray
Selecting the right shower tray involves more than just picking a size or shape; it requires a thorough assessment of your bathroom's layout, the needs of its users, and the type of shower enclosure you plan to install. Here's what to keep in mind:
Space Availability: Before choosing a tray, evaluate the available space in your bathroom. Consider not only the floor area, but also how the doors open, as well as the location of other fixtures. This will help you understand what tray shapes and sizes can be accommodated without hindering functionality.
Bathroom Users: The needs of those who will use the bathroom should heavily influence your choice. For families with young children or elderly members, low-profile or walk-in trays might be preferable for easy access and safety. On the other hand, if the primary users are adults, you might opt for larger sizes or stylish designs, such as offset quadrants.
Shower Enclosure Type: The tray must match the type of enclosure you plan to install. For example, a quadrant enclosure requires a quadrant tray to fit correctly. Matching the tray and enclosure correctly ensures a watertight finish and maintains the aesthetic flow of the bathroom design.
Aesthetics and Design Compatibility: Your shower tray should complement the overall style of your bathroom. Whether you're aiming for a modern, minimalist look or a more traditional setup, the tray should integrate seamlessly with your bathroom’s design theme, enhancing both its functionality and its visual appeal.
How to Measure for Your Shower Tray
Measuring your bathroom accurately is crucial to selecting the right shower tray. Here’s how to do it step-by-step:
Measure the Space: Start by measuring the length and width of the area where you plan to install the shower tray. For precision, use a reliable tape measure and note down dimensions in millimeters.
Check for Obstructions: Take note of any potential obstructions, such as radiators, pipes, or built-in storage, that may affect the installation space.
Account for Installation Space: Remember to leave enough room for installation tolerances and sealing. It’s important to account for extra space around the tray for the necessary waterproofing and tile work.
Double-Check Measurements: To avoid costly mistakes, always measure twice. It’s advisable to have a second person verify the measurements to ensure accuracy.
Custom Solutions: If standard sizes don’t fit your space, consider a bespoke tray. Many suppliers offer custom-made options that can be tailored to your specific requirements.
Installing Your Shower Tray
1. Preparation:
Assess the Floor: Ensure the area where the tray will be installed is clean, dry, and level. Any discrepancies in floor level can be corrected with a self-levelling compound or additional supports.
Check the fit: Temporarily place the shower tray in the intended position to ensure that it fits properly and that there is enough clearance for the enclosure and door operation.
2. Positioning the Waste:
Install the Waste Trap: Attach the waste trap and waste pipe to the shower tray before positioning it. This is typically easier to do when the tray is outside of its final location.
Dry Fit: Place the tray down temporarily to ensure the waste lines are correctly aligned with the floor plumbing. Make adjustments as needed.
3. Applying Sealant and Adhesive:
Prepare the Base: Apply a bed of mortar or adhesive where the tray will sit. This helps secure the tray and prevents movement. The type of adhesive will depend on the tray material; consult the manufacturer's recommendations.
Position the Tray: Carefully lower the tray into place. Press down evenly to ensure good contact with the adhesive, eliminating any gaps that could lead to movement or noise when stepping into the shower.
4. Levelling the Tray:
Level Check: Use a spirit level to ensure that the tray is perfectly level across all edges. Adjust by gently lifting the tray and adding or removing adhesive as necessary.
Secure in Place: Some trays come with fixing brackets or feet that can be adjusted to help level and secure the tray to the floor.
5. Sealing:
Silicone Sealant: Once the tray is positioned and level, apply a high-quality silicone sealant around the edges of the tray where it meets the walls and floor. This is crucial to creating a watertight barrier.
Smooth the Sealant: Use a sealant smoother or a soapy water-dipped finger to smooth out the sealant line, ensuring it's even and fully sealed.
6. Water Test:
Check for Leaks: Before installing the rest of the enclosure, it’s wise to test the tray by pouring water over it and checking for any signs of leaks at the waste and edges. Address any leaks immediately by reinforcing the sealant or adjusting the waste connection.
7. Finishing Touches:
Install the Enclosure: Once the tray is installed and sealed, you can proceed with installing the shower enclosure.
Final Seal: After the enclosure is in place, apply another layer of silicone sealant on the inside of the enclosure where it meets the tray to ensure complete water tightness.
8. Curing Time:
Allow Adequate Curing: Before using the shower, follow the manufacturer's instructions regarding the adhesive and sealant's curing time. This typically ranges from 24 to 48 hours.

Choosing the Right Shower Tray Size on Bathroom Supplies Online
Selecting the right shower tray for your bathroom doesn't have to be complicated. At Bathroom Supplies Online, we've simplified the process to help you find the perfect fit. Follow this easy step-by-step guide:
Step 1: Visit the Shower Tray Section
To access our extensive selection, first go to the top of this blog page and click on "Showering," then "Shower Trays."
Step 2: Select Your Shower Tray Type
We offer a variety of shower tray types to suit every bathroom layout:
Square: Ideal for compact spaces
Rectangular: Ideal for larger shower areas.
Quadrant: Great for corner installations
Offset Quadrant: Ideal for larger corner spaces with irregular layouts.
Pentagon: A stylish, space-saving option with a unique design
Wet Decks: Seamless, contemporary, and integrated with your bathroom floor
Walk-In: Sleek, open design for easy access
Step 3: Refine Your Search
Once you've chosen your tray type, narrow down your options based on:
Size: Select the length and width that fit your space.
Brand: Choose from trusted, high-quality manufacturers.
Anti-Slip Option: Opt for added safety, especially for children or elderly users.
Colour: Match your tray to your bathroom's colour scheme.
Step 4: Compare and Decide
After applying your preferences, you'll see a list of shower trays that match your criteria. Compare features, specifications, customer reviews, and prices to make an informed decision.
Step 5: Purchase and Get Support
Once you've found the perfect shower tray, purchase it directly from our website. If you need assistance, our customer service team is ready to help.
With Bathroom Supplies Online, finding the ideal shower tray is a breeze. Whether you need a space-saving square tray or a luxurious walk-in design, we have options to suit every bathroom and budget. Start your search today and upgrade your showering experience with ease.
FAQ Section
What is the best material for a shower tray?
Shower trays are commonly made from acrylic, stone resin, and ceramic. Acrylic is lightweight and warm to the touch, while stone resin is extremely durable and provides a solid, high-quality feel. Ceramic trays are hard-wearing and easy to clean, making each material suitable depending on your preferences for durability, maintenance, and aesthetics.
How do I know what size shower tray to buy?
Measure the space where you intend to install the shower tray and check it against standard sizes. Consider the type of enclosure and the room's layout to ensure a comfortable fit. For unusual spaces, consider a custom-sized tray.
Can I install a shower tray on any type of flooring?
Shower trays can be installed on various floorings, including tiles, concrete, and wood. However, the surface must be level and strong enough to support the weight of the tray and its usage over time. Preparing the floor with a self-levelling compound can help achieve a suitable installation surface.
Do I need professional help to install a shower tray?
While DIY installation is possible, professional installation is recommended to ensure the tray is level, securely fitted, and properly sealed. This helps maintain the warranty and ensures long-term functionality and safety.
How do I maintain my shower tray?
Regular cleaning with non-abrasive cleaners is recommended. Avoid harsh chemicals that can damage the surface. For stone resin or ceramic trays, periodic resealing may be required to maintain waterproof integrity.
To sum up, choosing the right shower tray is key to enhancing both the functionality and comfort of your bathroom. Remember, the perfect tray should not only fit your space but also cater to the needs of all users, blending seamlessly with the overall bathroom design. We invite you to explore our extensive range of shower trays at Bathroom Supplies Online, where you’ll find options to suit every style and requirement. Equip your bathroom with a foundation that combines durability with elegance, and enjoy the comfort and reliability that come with a well-chosen shower tray.
Stay Connected
Opening Hours
Mon to Fri 9:00am - 5.00pm
Shop with confidence

© Copyright 2018 Bathroom Supplies Online ~ Company No. 5591519 | VAT No. 883 1161 27 ~ Sitemap
